
Tags
HHVM là một máy ảo mã nguồn mở được thiết kế để thực hiện các chương trình viết bằng Hack và PHP. HHVM sử dụng một phương pháp biên dịch just-in-time(JIT) để đạt được hiệu suất cao trong khi duy trì phát triển linh hoạt mà PHP cung cấp.
HHVM hỗ trợ Hack, PHP 5 và một số tính năng chính trong PHP 7.
Tính năng HHVM:
- The Hack Language
- JIT Compilation
- HNI
- Proxygen and FastCGI support
- hphpd debugger
- ….
Hôm nay chúng ta sẽ cài đặt HHVM với Web server Apache để tăng tốc độ xử lý của web server, tốc độ truy xuất web có thể được tăng lên gấp đôi. HHVM chủ yếu được xây FaceBook xây dựng và phát triển để tương thích với hệ điều hành Ubuntu.
- Tạo máy ảo Ubuntu 15.10:
Qúa trình tạo máy ảo cũng đơn giản như những lần trước.
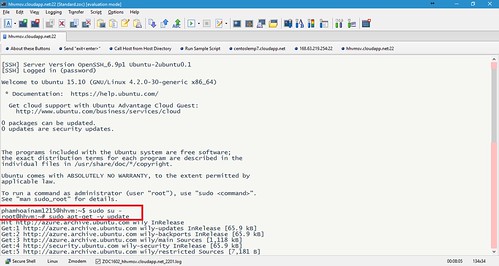
Sau khi tạo xong máy ảo ta tiến hành cập nhật:
# sudo apt-get -y update
- Cài đặt LAMP:
Như bài hướng dẫn trước đã làm chi tiết, lần này mình chỉ tóm tắt lại những câu lệnh chính sử dụng thôi:
Cập nhật phần mềm:
# sudo apt-get update
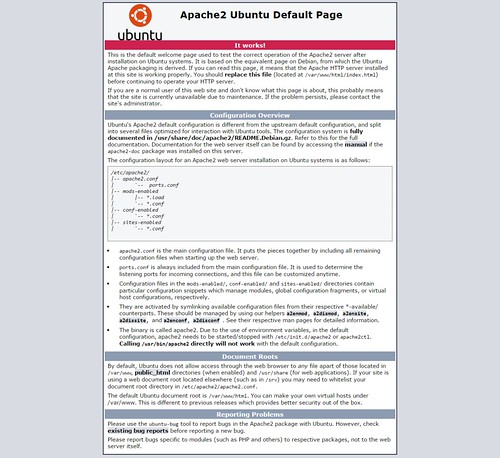
Cài đặt apache:
# sudo apt-get install apache2
Kiểm tra dịch vụ apache2 có khởi động chưa:
# sudo service apache2 status
Nếu đã khởi động thành công thì ta có thể kiểm tra trên trình duyệt web:
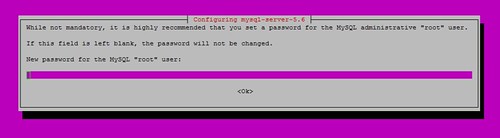
Cài đặt MySql:
# sudo apt-get install mysql-server php5-mysql
Nhập mật khẩu root cho MySql
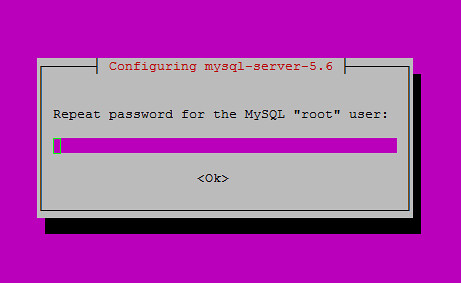
Cấu hình cơ bản MySql ở đây có thể thay đổi lại mật khẩu root MySql ngoài ra những phần cấu hình khác có thể chọn “y” hết:
# sudo mysql_secure_installation
Cài đặt PHP 5:
# sudo apt-get install php5
Cài thêm một số phần mở rộng php5 khác:
# sudo apt-get -y install php5-mysqlnd php5-curl php5-gd php5-intl php-pear php5-imagick php5-imap php5-mcrypt php5-memcache php5-ming php5-ps php5-pspell php5-recode php5-snmp php5-sqlite php5-tidy php5-xmlrpc php5-xsl
Tạo file info để test:
# sudo vi /var/www/html/info.php
Thêm vào những nội dung sau:
<?php
phpinfo();
?>
Khởi động lại dịch vụ apache 2:
# sudo service apache2 restart
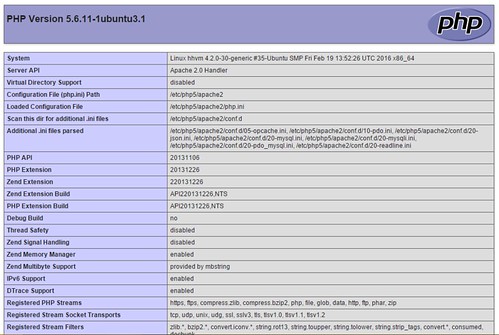
Kiểm tra php trên trình duyệt web: http://ip|dnsname/info.php
Cài đặt phpMyAdmin để quản lý MySql bằng giao diện:
# cd /usr/share
# wget https://files.phpmyadmin.net/phpMyAdmin/4.5.5/phpMyAdmin-4.5.5-english.zip
# apt-get –y install zip unzip
# unzip phpMyAdmin-4.5.5-english.zip
# mv phpMyAdmin-4.5.5-english phpMyAdmin
# cp /usr/share/phpMyAdmin/config.sample.inc.php /usr/share/phpMyAdmin/config.inc.php
# ln -s /usr/share/phpMyAdmin/ /var/www/html/
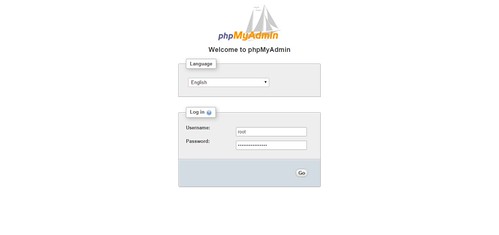
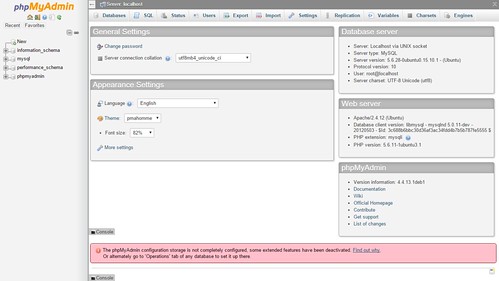
Truy xuất trình trên trình duyệt web để kiểm tra: http://ip|dnsname/phpmyadmin
Nếu không mở được phpmyadmin có thể thêm file cấu hình của phpmyadmin vào apache:
# vi /etc/apache2/apache2.conf
Thêm vào nội dung sau:
Include /etc/phpmyadmin/apache.conf
Restart lại server apache:
# sudo systemctl restart apache2
- Cài đặt HHVM:
Hướng dẫn cài đặt có thể xem chi tiết tại đây: https://docs.hhvm.com/hhvm/installation/linux
Cài đặt thêm một số phần mở rộng:
# sudo apt-get install software-properties-common
# sudo apt-key adv –recv-keys –keyserver hkp://keyserver.ubuntu.com:80 0x5a16e7281be7a449
# sudo add-apt-repository “deb http://dl.hhvm.com/ubuntu $(lsb_release -sc) main”
# sudo apt-get update
# sudo apt-get install hhvm
Sau khi cài đặt xong sẽ có hướng dẫn để nâng cấp web server cũ:
update-alternatives: using /usr/bin/hhvm to provide /usr/bin/php (php) in auto mode
********************************************************************
* HHVM is installed.
*
* Running PHP web scripts with HHVM is done by having your
* webserver talk to HHVM over FastCGI. Install nginx or Apache,
* and then:
* $ sudo /usr/share/hhvm/install_fastcgi.sh
* $ sudo /etc/init.d/hhvm restart
* (if using nginx) $ sudo /etc/init.d/nginx restart
* (if using apache) $ sudo /etc/init.d/apache restart
*
* Detailed FastCGI directions are online at:
* https://github.com/facebook/hhvm/wiki/FastCGI
*
* If you’re using HHVM to run web scripts, you probably want it
* to start at boot:
* $ sudo update-rc.d hhvm defaults
*
* Running command-line scripts with HHVM requires no special setup:
* $ hhvm whatever.php
*
* You can use HHVM for /usr/bin/php even if you have php-cli
* installed:
* $ sudo /usr/bin/update-alternatives \
* –install /usr/bin/php php /usr/bin/hhvm 60
********************************************************************
Với web server apache ta sẽ cài đặt theo những lệnh sau:
# sudo /usr/share/hhvm/install_fastcgi.sh
# sudo /etc/init.d/hhvm restart
# sudo systemctl restart apache2
# sudo update-rc.d hhvm defaults
# sudo /usr/bin/update-alternatives \
# –install /usr/bin/php php /usr/bin/hhvm 60
Sau khi cài đặt kiểm tra với lệnh:
# php -v
Nếu thấy thông báo như sau là thành công:
root@hhvm:~# php -v
HipHop VM 3.12.0 (rel)
Compiler: tags/HHVM-3.12.0-0-g440e6a096b2db8a449b9690a72f2f1792530e86a
Repo schema: 033b8dedf4af99b892f2488b103a8d67a58ff816
- Cấu hình HHVM trong apache:
- Nếu bị lỗi 404 khi truy xuất vào trang web php thì sửa như sau:
# vi /etc/hhvm/server.ini
Thêm vào nội dung sau:
hhvm.server.fix_path_info = true
# service hhvm restart
- Cấu hình HHVM kết hợp apache:
Mở file cấu hình mặc định của apache:
# vi /etc/apache2/sites-available/000-default.conf hoặc default.conf
Thêm vào dòng:
ProxyPassMatch ^/(.+\.(hh|php)(/.*)?)$ fcgi://127.0.0.1:9000/var/www/html/$1
# service apache2 restart
- Kích hoạt chết độ rewrite cho apche:
# vi /etc/apache2/sites-available/000-default.conf
<VirtualHost *:80>
…
<Directory />
Options FollowSymLinks
AllowOverride All
</Directory>
<Directory /var/www/html>
Options Indexes FollowSymLinks MultiViews
AllowOverride All
Order allow,deny
allow from all
</Directory>
…
</VirtualHost>
# service apache2 restart
- Nếu bị lỗi up file ta sửa như sau:
# vi /etc/hhvm/server.ini
Thêm vào nội dung sau:
hhvm.enable_zend_ini_compat=false
# vi /etc/hhvm/php.ini
Thêm vào nội dung sau:
upload_max_filesize = 128M
post_max_size = 128M
# service hhvm restart
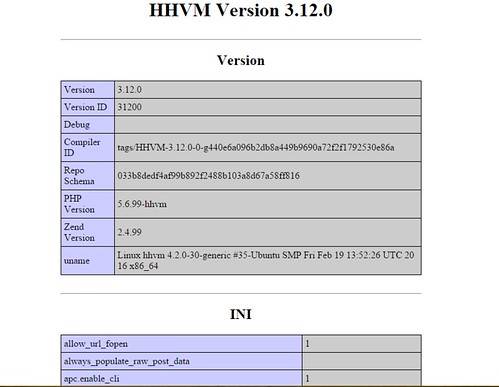
Kiểm tra hoạt động của HHVM trên trình duyệt web: http://ip|dnsname/info.php
Nếu thấy kết quả như sau là thành công:
- Cài đặt CMS OpenCart trên HHVM:
# cd /var/www/html
# wget https://codeload.github.com/opencart/opencart/zip/2.1.0.2
Sau khi tải về ta sẽ có file 2.1.0.2 là file zip. Giải nén:
# unzip 2.1.0.2
# cd opencart-2.1.0.2/upload/
Copy toàn bộ source web ra thư mục /var/www/html
# cp -rf * /var/www/html/
# cd /var/www/html
Tiến hành cấu hình trong source web:
# cp config-dist.php config.php
# cp admin/config-dist.php admin/config.php
# chmod -R 0777 system/cache/
# chmod -R 0777 system/logs/
# chmod -R 0777 system/download/
# chmod -R 0777 system/upload/
# chmod -R 0777 image/
# chmod -R 0777 image/cache/
# chmod -R 0777 image/catalog/
# chmod -R 0777 config.php
# chmod -R 0777 admin/config.php
Sau khi làm xong vào trình duyệt web sẽ có giao diện như sau:
http://ip|dnsname/install/index.php
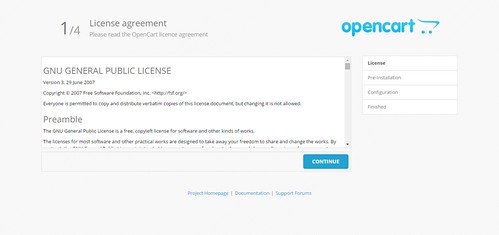
Nhấn Continue:
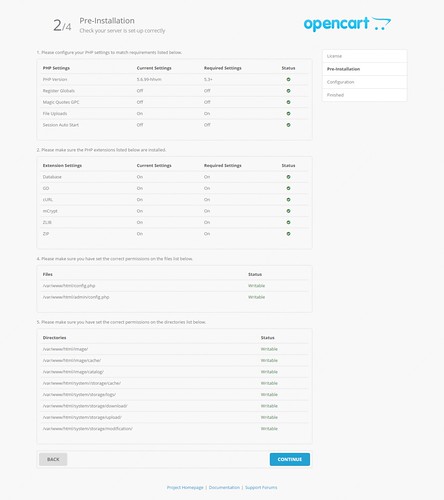
Nhấn Continue:
Tạo database và điền thông tin cần thiết:
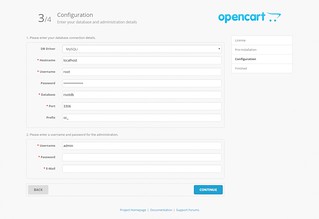
Nhấn Continue:
Xóa thư mục cài đặt và 1 số file không cần thiết:
# rm -rf /var/www/html/install
# rm -rf /var/www/html/index.html
# rm -rf /var/www/html/2.1.0.2
# rm -rf /var/www/html/opencart-2.1.0.2
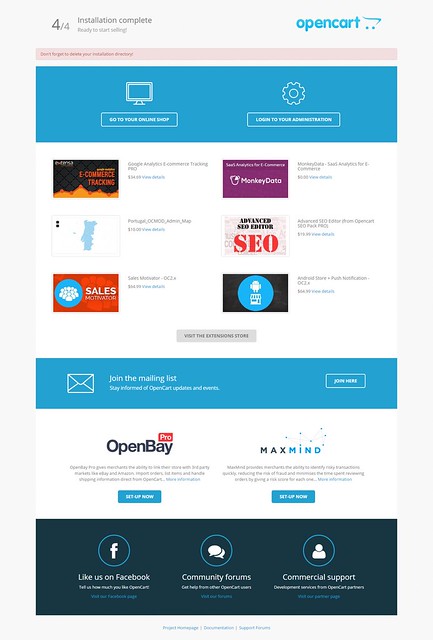
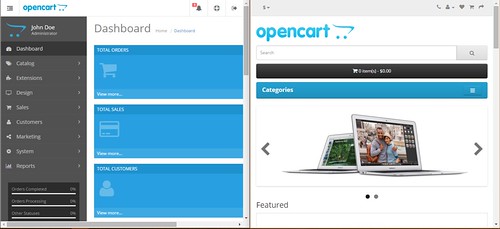
Kết quả:
Demo: https://channel9.msdn.com/Blogs/Azure–Linux/Azure-3-Linux-Hack-tc–web-vi-HHVM-trn-Web-server-Apache
